

Custom furniture creation in the comfort of one’s own home is, without a doubt, one of the most gratifying do-it-yourself [DIY] projects. It is an opportunity to make pieces that are not only to one’s liking but also fit the space and convey one’s creativity. By the time that you have created a story with your own hands that speaks of you every time a person sees it, you have not only conquered the skill of furniture making but also saved yourself from spending a fortune on factory-made stuff.
If you ever pondered the question of how to build your own furniture, this comprehensive yet easy-to-follow step-by-step tutorial will take you through the journey—from planning and measuring all the way to finishing and decorating—making it possible for anyone, even a beginner, to very well draw in their ideas.
Begin with a Definite Idea and Plan

You should not start using any tools before taking time to visualize what it is that you want to build. Needs are the first point of consideration; would you like a small coffee table in your living room, a new bookshelf in your study, or maybe a bench on your balcony? A vivid picture will lead to every choice you make later.
You could either draw your design in pencil on paper or maybe try free online design tools such as SketchUp or Canva to have a clearer idea of what your custom furniture would be like. Remember to indicate the size specifications, like height, width, and depth, on your diagram, and also indicate how the various parts will be interconnected. This keeps you from getting mixed up, and, in addition, it guarantees that everything is correctly fitted.
In addition to that, think about the overall appearance of your house. Is it a contemporary, rustic, minimalist, or old-fashioned style? Pick the features like straight lines, rounded edges, or carved patterns that will go along with your interior design. A well-thought-out design is like a map that directs you through your project, making it smoother and less stressful.
Gather the Right Tools and Materials
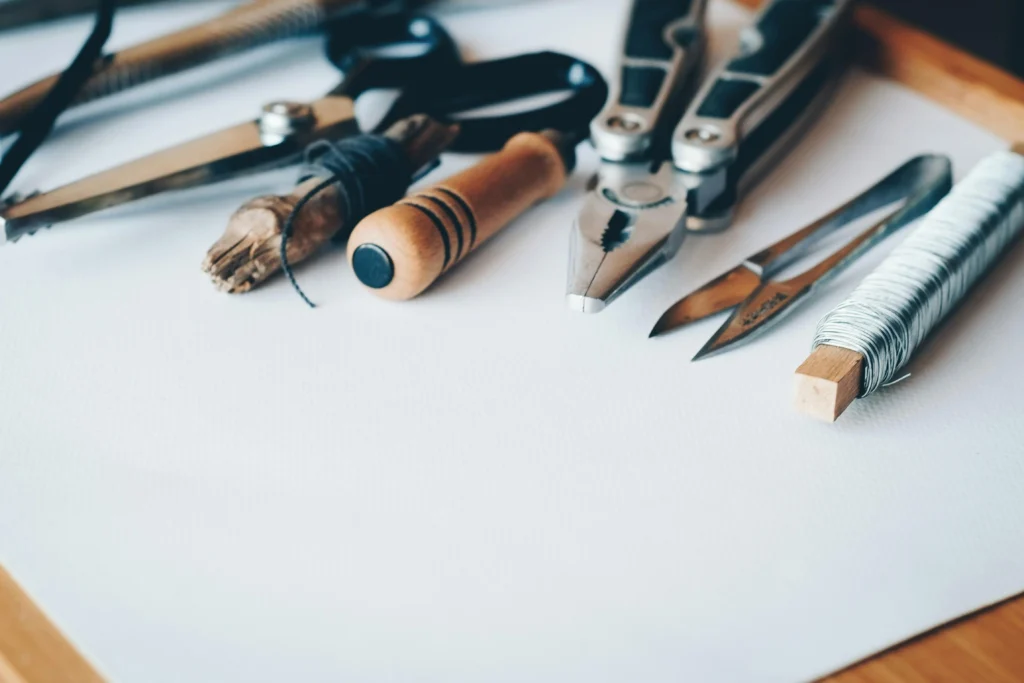
A painter needs good brushes; similarly, a furniture creator must have reliable tools. It is important that you gather everything before you start, so there will be no interruptions during the process. Below is a list of the basics:
– Measuring tape and pencil for making exact markings
– A handsaw or an electric saw for cutting wood
– Drill, screwdriver, and hammer for putting together
– Sandpaper or a power sander for polishing
– Wood glue, screws, and clamps for keeping the pieces together
– Paints, stains, or varnish for the last touches
In material selection, oak, pine, teak, or plywood are the best options, depending on the cost and nature of your project. Do not choose wood that is warped or has cracks. Although the initial outlay is high, good materials will ensure the furniture you make is strong and sturdy for a long time. One thing is for sure—the quality of your base will dictate the quality of the final product.
Measure and Cut Your Wood to the Right Size
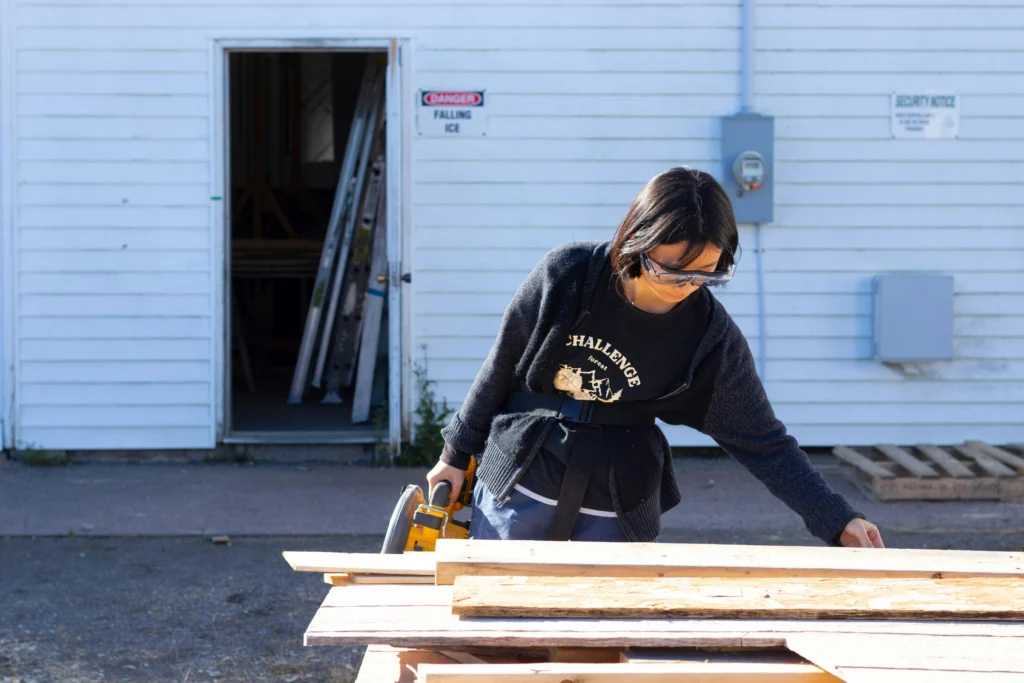
Precision is the key point here. A measurement mistake, even as small as a millimeter, can lead to a furniture piece that is not only unstable but also out of alignment. The proverb says measure twice and cut once—that’s the golden rule of the woodworker. Use a ruler, square, and pencil to first mark the cutting lines absolutely straight.
In the case you are dealing with a power saw, then keep your hands steady and protect your eyes and hands with the appropriate gear, like goggles and gloves. A handsaw, on the other hand, will give you better control in cutting smaller pieces or creating intricate designs. Sandpaper can come in handy after cutting to round off the edges and make them smooth again. Clean and precise cuts not only speed up the assembly process but also give the final product a neat and professional look, which is worthy of the craftsman.
Piece Together in a Stepwise Manner

A little bit of your creativity in the project gets the chance to be seen! First, take care of the main furniture frame or base, then get it assembled. Charlie, the wood assistant, will glue them together and then screw or nail them to reinforce the connection. Before, check with a level or measuring instrument if anything is misaligned—a little bit of unevenness can be enough to cause a piece of furniture to be out of balance.
So, be alert and attentive to details. Use a clamp to hold the glued parts, then let them dry for some hours before you start the next step. When the main frame is stable, fix other elements like shelves, drawers, or back panels. This step is like doing a puzzle with the board—every piece should fit nicely and tightly.
Sand For a Smooth and Professional Shiny Finish
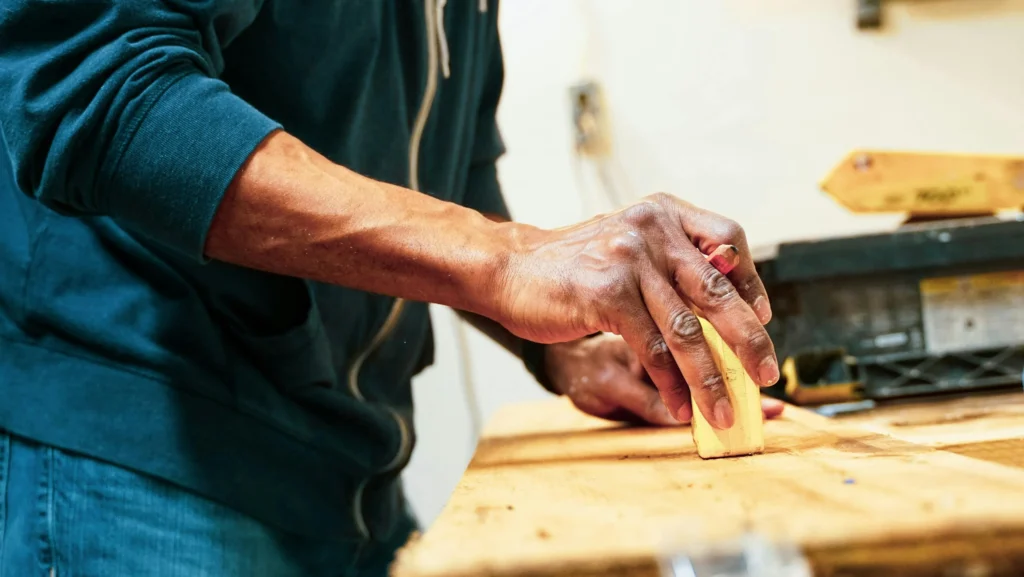
Sanding is the process that changes wood that has bumps and is uneven into a smooth and shiny surface. You should first use coarse-grit sandpaper (roughly 80–100 grit) to take off the bumps and then proceed to fine-grit grits (up to 220 grit) to make the surface shine.
Always sand in the direction of the wood grain to avoid visible scratches. Pay particular attention to corners and edges, as these areas are more likely to be rough. Dusting after sanding is the next thing to do, and a clean, damp cloth can be used.
Add Final Touches and Decorations
Your furniture is almost done—but now it is the time to add those small things that make it truly unique. Such small features as handles, knobs, cushions, or stencils can completely change the appearance. You can even personalize it by adding your initials using a wood-burning pen or by carving simple patterns for a handmade charm. Check out our latest blog post on Top 5 Common Mistakes in Carpentry and How to Avoid Them
To create a gentle effect, cover hard surfaces with fabric or padding, and furniture with the proper settings and mood should have metallic or brass trims. accents for a stylish appearance. These last details not only show who you are but also make your furniture a unique creation that nobody else can have.
Inspect, Test, and Enjoy Your Creation
Inspect it before placing your masterpiece in the right spot. Make sure that all the screws are properly fastened, the edges are not sharp, and the furniture is stable. Try gently shaking it or putting some weight on it to check if it is safe to carry the load. When everything looks so good, give it a soft cloth final cleaning.
Now, take a moment to appreciate what you have done. You have transformed the basic materials into something that is not just functional but also captivating—a piece that is a representation of your time, effort, and creativity. Move it to the place you want and feel proud of it every time you use it. There is nothing that can compare to the pleasure of declaring, “I did it by myself.”
Conclusion
Home custom furniture building is not merely about getting something done—it is about going through the creative process, the delay of gratification, and the making of memories. Contact us as each and every step, from planning to the last coat of finish, imparts a new lesson. Your first attempt may not be of the best quality, but still, the ordeal itself is very satisfying.
Therefore, the next time you feel like picking up a new table or shelf, think about doing it instead. By having a design, a couple of tools, and some commitment, you can fill your home with not only aesthetically pleasing but also love- and pride-filled pieces.


1 Comment
Comments are closed.