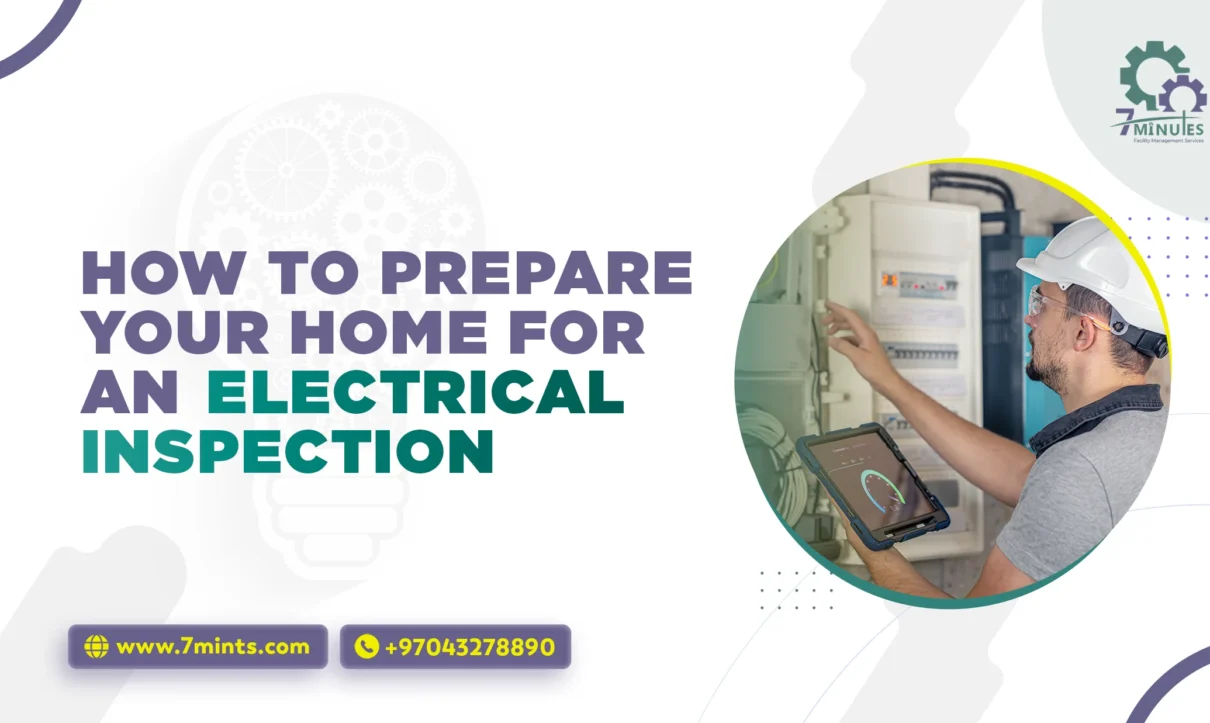
Using a structured home electrical inspection checklist helps homeowners identify safety gaps before an inspector arrives. Electrical inspections are not only about compliance but also about preventing hazards that can lead to fires, shocks, or system failures. A detailed electrical inspection preparation checklist ensures that critical components such as wiring, panels, grounding, and safety devices meet current electrical codes. When homeowners properly prepare home for electrical inspection, inspections become faster, smoother, and more likely to pass on the first visit.
A professional home electrical inspection checklist also helps inspectors perform accurate evaluations without delays caused by blocked access or missing documentation. By following a step-by-step electrical inspection preparation checklist, homeowners can correct minor issues early and avoid costly repairs later. Taking time to prepare home for electrical inspection reflects responsible ownership and prioritizes long-term safety.
Home Electrical Inspection Checklist Key Areas Inspectors Check
The foremost significance of electrical inspections lies in determining the hazards long before they could turn dangerous. Bad wiring, outdated panels, and unapproved installations result in electrical fires, shocks, or failed electrical systems. Inspections ensure your house is safe in terms of code and standards for the safety of your family and property.
Step 1: Know What Inspectors Look For
Knowing what an inspector examines will best direct your preparations. Inspectors are primarily concerned with the main electrical panel, breakers, wiring, outlets, switches, and safety devices, such as GFCIs and AFCIs. They will examine everything pertinent to grounding and smoke detection to ensure safety on all levels. Knowing about these areas lets you rank them.
Step 2: Declutter and Provide Clear Access
Inspectors need access to the electrical panels, outlets, and junction boxes without any obstructions that can interfere with their accurate evaluation of the condition of your premises. Clear any obstructions to these areas: furniture, boxes, and appliances. Thus, instead of delays or uncompleted inspections, the flow will be more efficient. Clear pathways also ensure that the inspectors themselves can walk safely around the entire house without any hazards. This step shows your cooperation and that everything will still run smoothly and efficiently during the inspection.
Step 3: Examine Any Outlets, Switches, or Fixtures
Walk through the entire house and crank on every outlet and switch with the help of a simple device, such as a lamp or outlet tester. Replace any that are cracked, loose, not working, or anything else that may introduce fire hazards or violate code. GFCI outlets must be appropriately placed where required—bathrooms, kitchens, and outdoors—and tested by pushing the “test” and “reset” buttons. Working outlets and switches are among the primary stipulations for electrical safety and functionality.
Step 4: Inspect Your Electrical Panel
The electrical panel is the brain center for the power distribution inside a house. Be assured that the way to this panel is open so that the inspector has no challenges getting to the electrical panel easily, and all breakers must be properly labeled to help the inspector quickly identify circuits. Check for double-tapped breakers (two wires on one breaker) and loose connections, both of which are common code violations that can permit arcing or fire.
Step 5: Inspect Wiring and Connections
Wiring is one major contributor to electrical failure and hazards. Look at any exposed wiring for frayed insulation, cracks, or damaged places where the conductor may be bare, all of which cause shock or fire hazards. Ensure that the wire gauge matches the circuit’s amperage to avoid overheating and burning.
Step 6: Evaluate Potential Safety Hazards
Damaged cords, improper use of extension cords, and overloaded outlets all increase the potential for an electrical fire safety hazard. Remove any extension cords used for permanent wiring, as this is unsafe and could violate code. Look for signs of water damage around outlets or switches, as moisture can lead to shorts or shocks. Never daisy-chain power strips, and ensure outlets in wet places have GFCI protection to reduce the risk of shock.
Step 7: Grounding and Bonding
Effective grounding and bonding should protect against electric shock and ensure the system’s proper functioning. Make sure that all outlets, especially those in older homes, have the grounding wire connected. Bond all metal electrical boxes and conduits to avoid any potential difference that may result in shock.
Step 8: Inspect Smoke and Carbon Monoxide Detectors
Smoke and carbon monoxide detectors are life-saving devices required in modern electrical codes. Test each detector to ensure that it emits the alarm signal, replacing batteries or units that do not respond. Any expired or malfunctioning detector would cause your inspection to fail and jeopardize the safety of the family living there.
Step 9: Documenting and Permit Gathering
Having all the related documentation handy shall prove that your electrical work is done according to the trade in practice and bears the name of a certification. Collect permits, inspection reports, and certificates for any updated or repaired work within recent years. The documentation helps the inspector to confirm that the work complied with local codes and that it was performed by those possessing licenses. Check out our blog on Common Electrical Installation Mistakes in the UAE and How to Avoid Them.
Step 10: Code Violation and Outdated Component Resolution
Old homes may have wiring or panels that are outdated and unsafe by modern standards. Significant safety concerns exist with panels like Federal Pacific and Zinsco that should be checked for replacement. Check for ungrounded outlets or circuits, which could be found in an old home and need to be updated. Ensure installation with GFCI and AFCI protections where required, since missing these devices tends to be the most common reason behind the failure of an inspection.
Inspection Preparation Tips For Smooth Inspection
Follow Inspection Preparation Tips to ensure success: clear access to electrical panels, test all switches and outlets, gather past electrical work documents, and fix code issues early. These Inspection Preparation Tips improve safety, speed inspections, and help you pass confidently. Use Inspection Preparation Tips to avoid delays and ensure compliance.
- Clear Electrical Access: We will be removing all furniture, storage items, and appliances that block access to electrical panels, outlets, switches, and junction boxes in order to allow the inspector’s ready access to these areas. This makes sure that accessibility to every electrical item that requires checking is fast and safe. Clear access means that the inspection proceeds much faster and shows your preparedness to cooperate. Adequate access is a must so that a thorough and fast evaluation can take place concerning your home electrical system.
- Testing the Electrical System: Prior to an inspection, go through the entire house and test every switch, outlet, and fixture to ensure that these items function properly. For instance, plug in lamps or other items into each outlet and check GFCI outlets by pressing their respective test and reset buttons to make certain they trip and reset as intended. Fix or replace any non-working/damaged switches and outlets so that they do not stand against you in the inspection
- Gather Past Electrical Work Documentation: Collect all documentation related to past electrical work, such as permits, inspection reports, and certificates for upgrades or repairs. Documentation provides a concise history of your house’s electrical system and shows the homeowner’s commitment to safety and compliance. It will clear up any unnecessary questions that may arise and facilitate quicker assessment.
- Code Violations or Equipment That Needs Updating: Have a look around your home. Is there equipment like electrical panels, ungrounded outlets, or wiring that goes against current safety standards? Fixing these violations beforehand lessens the chance of failing the inspection, which might mean you will incur expensive re-inspection fees. By updating, you ensure that the system is in good working order and safe according to modern electrical standards.
Final Review Before the Inspection
Before the inspector arrives, conduct a final walkthrough using your home electrical inspection checklist to confirm all steps are completed. Recheck access to panels, test outlets once more, and verify that smoke and carbon monoxide detectors are operational. Reviewing an updated electrical inspection preparation checklist at this stage helps ensure nothing is overlooked. Homeowners who consistently prepare home for electrical inspection using a checklist significantly reduce inspection failures.
Conclusion
A well-planned home electrical inspection checklist is the foundation of a safe and compliant home. When you prepare home for electrical inspection using a reliable electrical inspection preparation checklist, you protect your family, property, and investment. Proper preparation not only supports code compliance but also promotes long-term electrical safety and peace of mind. Contact us so that an inspection flows smoothly and successfully. Remember, when in doubt, consult a licensed electrician to ensure your home’s electrical system meets all current safety standards. A well-prepared home passes inspection, in any case, saves the family from future hassle and increases the worth of the property.


1 Comment
Comments are closed.